Okonomiyaki – Your New Favorite Way to Eat Cabbage!
Okonomiyaki (お好み焼き), which literally means "grill what you like," is a savory Japanese pancake where green cabbage takes center stage, accompanied by other vegetables and proteins of your choice.
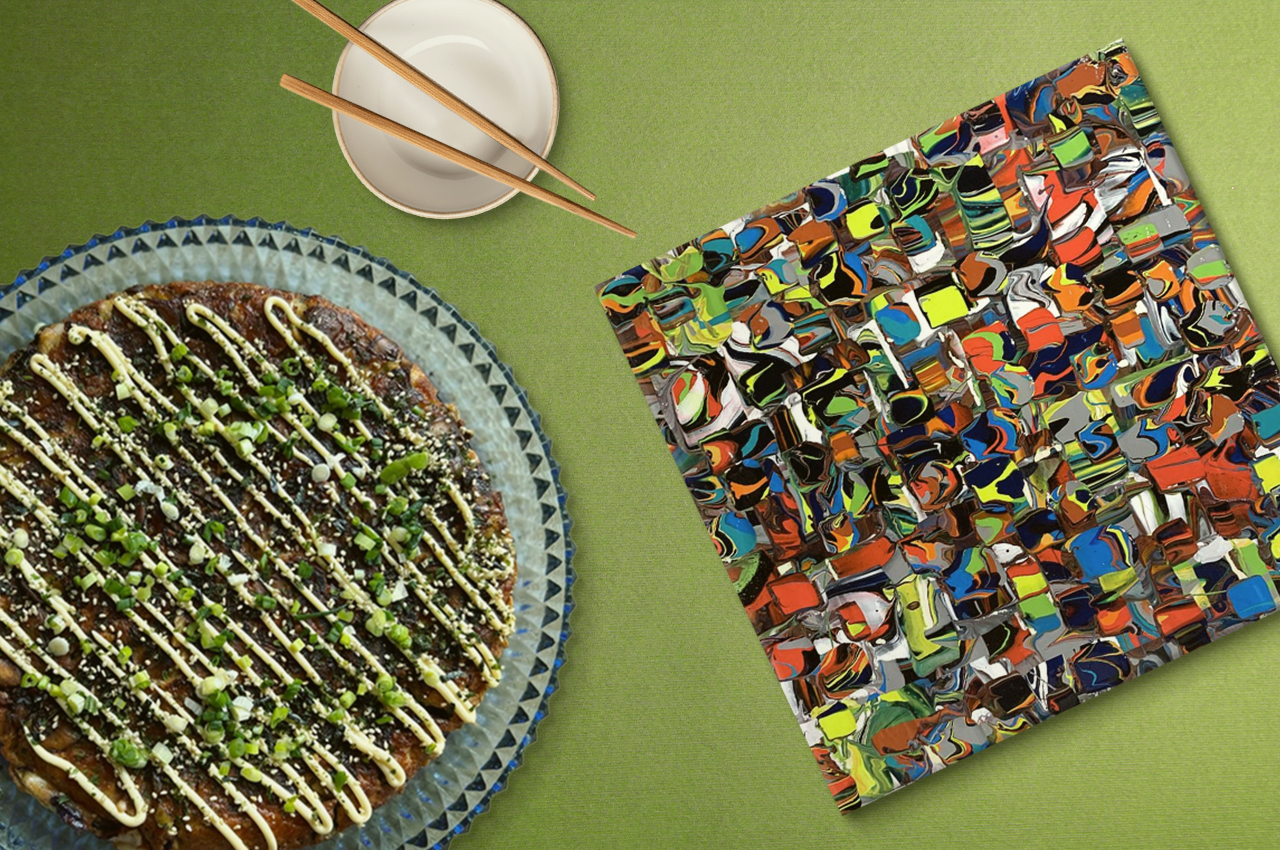
The Japanese roots of this dish remind me of Patrick Pépin’s artwork—not only in its composition, with layers of colorful vegetables reminiscent of his mosaics, but also in the culinary approach of Japan, known for its complexity of flavors. On the palate, umami unfolds with a sophisticated richness, a subtle balance between depth and nuance. Just like Pépin’s abstract squares, okonomiyaki is a beautiful, controlled chaos, where every ingredient finds its place.
Have fun assembling the ingredients and let this pancake cook slowly until it achieves a crispy texture. The toppings and sauces play an essential role—just like the final touches of a "dripping" technique on an artist’s canvas!
Preparation time: 30 minutes
Cooking time: 20 minutes
Servings: 4
Difficulty level: Intermediate
Ingredient Notes
Where to Find Special Ingredients:
Pickled red ginger (Beni Shoga): Available in Asian grocery stores
Kewpie mayonnaise: Found in Japanese grocery stores, or substitute with classic mayonnaise enhanced with a pinch of MSG
Nori seaweed: Available in the Asian section of supermarkets
Ingredients
For the Batter:
- 1 cup all-purpose flour
- 1/4 tsp baking powder
- 1/2 cup vegetable or dashi broth
- 4 eggs, room temperature
- 1/4 head of green cabbage, finely shredded (about 2 cups)
- 1/4 head of red cabbage, finely shredded (about 2 cups)
- 1 large carrot, finely grated
- 2 tbsp pickled red ginger, chopped
- 4 green onions, finely chopped
- 1 cup raw shrimp, peeled and chopped
- 4-6 slices of bacon
- A pinch of sea salt
For the Homemade Okonomiyaki Sauce:
- 2 tbsp ketchup
- 2 tbsp Worcestershire sauce
- 1 tbsp soy sauce
- 1 tbsp honey
- 2 tsp molasses
For Garnishing:
- Prepared okonomiyaki sauce
- Kewpie mayonnaise
- Shredded nori seaweed
- Katsuobushi (dried bonito flakes) – optional
Preparation
Prep Work (Can Be Done in Advance):
- Finely chop all vegetables and store them separately in the fridge.
- Prepare the okonomiyaki sauce and store it in an airtight container.

Making the Batter:
- In a large bowl, mix the flour, baking powder, and salt.
- Gradually add the broth while whisking to avoid lumps.
- Add the eggs one at a time, mixing well after each addition.
- Gently fold in the shredded vegetables, pickled ginger, and shrimp.
- Let the batter rest for 10 minutes to allow the flavors to develop.

Cooking Instructions (Temperature & Technique):
- Heat a large non-stick pan over medium-low heat (175°C / 350°F).
- Lightly oil the pan with neutral oil.
- Pour half of the batter into the pan, forming a thick pancake about 2 cm (¾ inch) thick.
- Place 2-3 slices of bacon on top.
- Cook for 4-5 minutes, until the bottom is golden brown.
- Flipping Tip: Place a large plate over the pan, flip everything together, then slide the okonomiyaki back into the pan.
- Cook for another 4-5 minutes on the other side.
- Repeat with the remaining batter.

Artistic Plating
- Drizzle generous zigzags of okonomiyaki sauce.
- Create a crisscross pattern with Kewpie mayonnaise.
- Sprinkle shredded nori seaweed.
- Add katsuobushi, which will "dance" from the heat of the pancake.

Creative Variations
Vegetarian Version: Replace shrimp with sliced shiitake mushrooms and bacon with grilled zucchini strips.
Spicy Version: Add shichimi togarashi (Japanese spice blend) to the batter.
Serving & Pairing Suggestions
- Pair with a sencha green tea or a Japanese beer.
- For a full experience, place additional condiments on the table so everyone can customize their portion.
Storage & Reheating
Okonomiyaki keeps for up to 2 days in the fridge.
Reheating methods:
- Use a pan over low heat
- Bake at 180°F (82°C) for 5-7 minutes
- A quick blast in an air fryer at 400°F (200°C)

いただきます!(Itadakimasu!)
Follow Camille on Instagram for more beautiful food and recipe inspiration.
And now, discover or rediscover Patrick Pépin and his collection:


Partager:
Valentine’s Day Quiz
Interview with Virginie Schroeder